HIIT intervals chart: work-to-rest ratios and timing for every goal
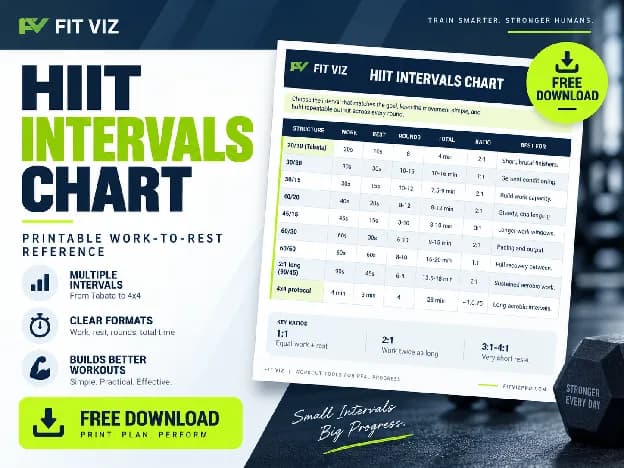
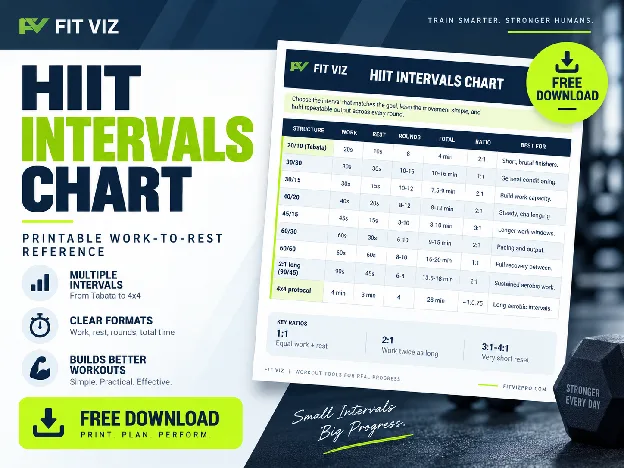
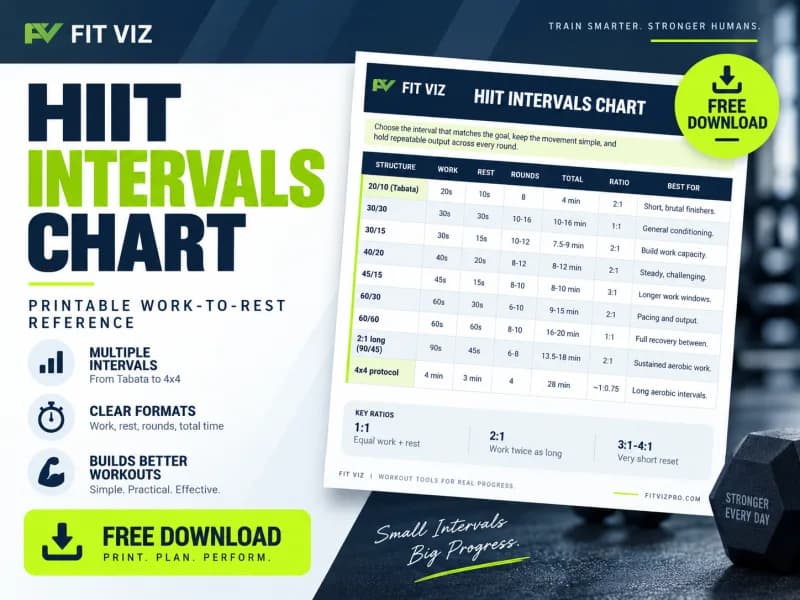
A reference chart of the most-used HIIT interval structures, from 20/10 to the 4x4 protocol, with work-to-rest ratios, total time, and what each one is good for.

Search "HIIT intervals chart" and most results give you a definition of HIIT followed by three examples buried in paragraphs. That's not a chart, and it's not useful when you're standing next to the workout timer trying to decide what numbers to punch in.
Eleven interval structures, real numbers for each, no filler between you and the table.
This page is the chart. Below is a reference table of the interval structures people actually program, with the work-to-rest ratio, total time, and what each is good for, followed by an explanation of how to read the numbers, how to pick a structure that matches what you're training for, and how to build a full session around it rather than just staring at a single row.
The HIIT intervals chart
All rounds below assume no extra rest beyond what's listed. Total time excludes warm-up. "Rounds" is a typical count, not a rule, adjust for your own session length using the timer.
| Structure | Work | Rest | Rounds | Total time | Ratio | Intensity target | Good for |
|---|---|---|---|---|---|---|---|
| 20/10 (Tabata) | 20s | 10s | 8 | 4 min | 2:1 | Maximal effort | Short, brutal finishers. Classic Tabata protocol, see Tabata timer |
| 30/30 | 30s | 30s | 10-16 | 10-16 min | 1:1 | High, sustainable | General conditioning, most movements, most fitness levels |
| 30/15 | 30s | 15s | 10-12 | 7.5-9 min | 2:1 | High | Building work capacity without full recovery |
| 40/20 | 40s | 20s | 8-12 | 8-12 min | 2:1 | High, steady | Moderate-length efforts that still bite by round 3 |
| 40/10 | 40s | 10s | 8-10 | 6.5-8 min | 4:1 | Maximal, hard to sustain | Advanced conditioning, minimal recovery windows |
| 45/15 | 45s | 15s | 8-10 | 8-10 min | 3:1 | High | Longer work windows with a short reset |
| 60/30 | 60s | 30s | 6-10 | 9-15 min | 2:1 | Moderate-high, paced | Pacing practice, movements that need a full minute to build output |
| 60/60 | 60s | 60s | 8-10 | 16-20 min | 1:1 | Moderate-high | Full recovery between long efforts, good for heavier loaded work |
| 2:1 long (90/45) | 90s | 45s | 6-8 | 13.5-18 min | 2:1 | Moderate | Sustained aerobic-leaning work with a real reset |
| 1:1 long (60/60 to 90/90) | 60-90s | equal to work | 6-8 | 12-24 min | 1:1 | Moderate | Steady-state-adjacent work, easier to hold form under fatigue |
| 4x4 protocol | 4 min | 3 min | 4 | 28 min | ~1:0.75 | Hard, near top-end sustainable | Long aerobic intervals, the longest structure on this list |
Every row runs on the free HIIT timer. Set work seconds, rest seconds, and round count, and the timer handles the countdown, a warning cue before each transition, and a bell at the switch. No structure here needs anything beyond that.
Quick pick guide
If you only read one section, read this one and go set the timer.
- Under 10 minutes, as hard as possible: 20/10 (Tabata) or 40/10.
- A dependable default with no specific bias: 30/30.
- Building toward less recovery over time: 30/15, stepping down from 30/30.
- Longer work windows, still with a real reset: 60/30 or 45/15.
- Full recovery between heavier or loaded efforts: 60/60.
- Sustained aerobic-leaning work, minimal spiking: 90/45 or 60-90/equal.
- The longest, most demanding single session on the chart: the 4x4 protocol.
How to read the ratio column
The work-to-rest ratio tells you how much recovery you get relative to how much work you just did. A 1:1 ratio means equal work and rest. A 2:1 ratio means you work twice as long as you rest. A 4:1 ratio, like 40/10, means you barely rest at all relative to the work.
The number that trips people up: ratio alone doesn't tell you how hard a structure feels. 30/30 and 3-minutes-on/3-minutes-off are both 1:1, and they are not the same workout. At 30 seconds, 30 seconds of rest is enough to bring your breathing most of the way back before the next round starts. At 3 minutes, the work period is long enough that fatigue accumulates within a single round, and 3 minutes of rest doesn't fully clear that, so round 4 starts harder than round 1 even though the ratio never changed.
This is why duration and ratio have to be read together, not separately. Short-and-frequent (20/10, 30/15) tests how well you handle repeated near-maximal spikes. Long-and-equal (60/60, 90/90) tests whether you can hold output and form once a single work period itself becomes the challenge, independent of how much rest follows it.
A ratio also compresses two different questions into one number. It tells you how much you rest, but not how much of that rest you actually need at a given work length. A 20-second effort at true maximal output can leave you needing closer to 40 or 60 seconds to fully recover, which is a 1:2 or 1:3 ratio, not the 2:1 that Tabata uses. Tabata is deliberately incomplete recovery by design, that's what makes it Tabata. If your goal is repeated quality output rather than accumulated fatigue, a longer rest window than the classic ratios suggest is a legitimate choice, not a failure to follow the protocol correctly.
What the intensity target column actually means
The chart uses four intensity labels, and each one means something specific about what the work period is actually asking for.
Maximal effort (20/10, and close to it on 40/10) means the output you could not meaningfully increase if someone offered you a prize for it, sustained for the full work window. It's realistic for 20 to 40 seconds because true maximal output isn't holdable much longer than that. Below this window, the limiting factor is almost entirely how fast you can produce force, not how well you pace.
High and high, steady (30/30, 30/15, 40/20, 45/15) sit just under maximal, output you can repeat round after round without a sharp decline by round 6 or 8. This is the widest useful band on the chart because it's demanding without requiring the pacing precision that longer rows need.
Moderate-high, paced (60/30) is the transition point where pure output starts giving way to pacing skill. A full minute of work is long enough that starting too hot costs you the back half of the round, so the target output has to be chosen with the whole 60 seconds in mind, not just the first 15.
Moderate (60/60, 90/45, and longer 1:1 rows) isn't a downgrade, it's a different variable being tested. Once work periods stretch past a minute, the limiting factor shifts from raw power output to pacing discipline and the ability to hold form as fatigue builds within the round itself. Chasing a maximal-effort intensity on a 90-second or 4-minute work period usually means round 1 looks great and round 3 falls apart, which defeats the point of a repeatable interval structure. Nobody holds a true maximal output for 4 minutes; the number that matters for the 4x4 protocol is the highest output you can repeat identically across all 4 rounds, which is why it's labeled "hard, near top-end sustainable" rather than maximal.
Picking a structure from a goal
If the goal is a short, hard session with minimal time investment, Tabata's 20/10 or a 40/10 structure gets there in under 10 minutes. These punish pacing mistakes immediately, so pick a movement you can execute safely even when it falls apart.
If the goal is general conditioning without a specific bias, 30/30 or 40/20 covers the widest range of movements and fitness levels. This is the right default when you're not optimizing for anything in particular, and it's the structure most gym classes default to because it forgives a wide spread of fitness levels in the same room.
If the goal is building capacity to sustain effort with less recovery, working down from 30/30 to 30/15 to 40/10 over successive weeks is a straightforward progression. Each step removes rest without changing the work period, so the workout gets harder in a single, trackable way, and you can point to exactly what changed if a session goes badly.
If the goal is longer aerobic-leaning intervals, look at 60/60, 90/45, or the 4x4 protocol. These ask for pacing over a full minute or more per round rather than repeated bursts, which is a different skill and a different fatigue pattern. The heart rate zones guide has more on training at a controlled, sustained output if that's the intent behind choosing a longer structure.
The 4x4 protocol sits apart from everything else on the chart. Four minutes of hard work is long enough that you have to pace it like a mile repeat, not sprint it like a 20-second effort. Three minutes of rest between rounds is generous relative to a short-interval structure, but it still isn't full recovery from four minutes of sustained hard output. Most people find this the most demanding structure on the list precisely because it removes the option to just grit through a short burst; there's no gritting through 4 minutes at genuinely hard output, pacing has to be right from round 1.
Building a full session, not just picking one row
The chart lists work, rest, and rounds for the interval block itself, but a full session needs a warm-up before it and a cooldown after it, and neither of those should be improvised on the spot. A workable structure for most of the shorter rows: 5 minutes of easy movement and a couple of build-up efforts at the target movement, then the interval block as written, then 3 to 5 minutes of easy movement to bring things back down. For the longer rows, especially the 4x4 protocol, the warm-up should include at least one effort that approaches the target work intensity, so the first real round isn't also the first time you've hit that output.
Round count in the chart is written as a range, not a fixed number, because the right count depends on where you are in a training block and how the earlier rounds felt. Starting at the bottom of the range and adding rounds session to session, rather than starting at the top and hoping to survive it, is the more sustainable way to use these numbers.
Progressing a structure over weeks
Change one variable at a time. Add a round, cut the rest period, or raise output during the same work window, not all three in the same session. If you cut rest and add a round in the same week and the session falls apart, you won't know which change caused it.
A workable progression for something like 30/30: run it for two or three weeks at a given round count, then either add two rounds at the same work/rest split, or hold the round count and drop rest to 30/20. Give each version two to three weeks before changing anything again. If a structure stops feeling harder week over week, that's the signal to move, not a fixed calendar.
Rest between full sessions, not just between rounds, matters more here than in steady continuous training. High-intensity interval sessions accumulate fatigue that a single night's sleep doesn't always clear, especially at the shorter, harder end of the chart (20/10, 40/10). Spacing hard interval days apart rather than stacking them protects the quality of each session, which is what actually drives progress. Two or three hard interval sessions a week, with easier training or full rest between them, holds up better over a training block than five.
Common mistakes when picking a structure
Choosing the shortest, hardest row every time. 20/10 and 40/10 feel like the "real" HIIT because they're punishing, but running them every session builds a narrow kind of fitness and a high injury and burnout risk. The chart has eleven rows for a reason, rotate through them based on what you're actually training.
Treating rest as optional. Cutting the listed rest short because a round felt easy usually means the next round's output drops instead, which defeats the structure. The rest period is what makes the following round repeatable at target intensity, not dead time to skip.
Ignoring how the movement interacts with the interval length. A 60-second work period on a movement that peaks in 15 seconds (a max-effort sprint, for instance) means 45 seconds of declining output disguised as one round. Match the movement to the window, covered in more detail below.
Adding rounds and cutting rest in the same week. Covered above, but it's the single most common way people stall a structure that was working, because a bad session gets blamed on the whole structure instead of the specific change that broke it.
Skipping the warm-up because the interval block itself is short. A 4-minute Tabata block doesn't need a 4-minute warm-up, but it still needs one. Going into round 1 cold means round 1 is wasted finding your range, and on a structure with only 8 rounds total, wasting one is a bigger cost than it would be on a 16-round session.
Choosing movements for short versus long intervals
Short work periods (20 to 40 seconds) suit movements you can go near-maximal on without a long ramp-up. Good fits:
- Sprints (running, bike, ski erg)
- Burpees or burpee variations
- Kettlebell swings
- Battle ropes
- Jump rope, double-unders
The window is too short for a movement with a slow build to output, like a heavy loaded carry, to matter. You'd spend half the round just getting to target output.
Long work periods (60 seconds and up) suit movements where pacing and form under fatigue are the point. Good fits:
- Rowing or bike erg at a held pace
- Loaded carries (farmer's, sandbag)
- Sled push or pull
- Sustained bodyweight circuits (multiple movements inside one work window)
A 60-second all-out sprint effort on a movement meant for pacing usually falls apart by round 3, which defeats the purpose of picking a longer structure in the first place. If the movement can't hold its output curve for the full window, either the movement or the work period needs to change, not the athlete's effort.
Mixed-movement circuits work at any interval length, but the structure should still match intent. A 30/30 circuit rotating through 4-5 movements tests general conditioning across a session. A 4x4 protocol run on a single movement (bike, rower, run) tests something narrower and harder to fake, because there's nowhere to hide a weak round behind a movement switch.
This is also where a workout display earns its keep for group settings: when a session cycles through multiple movements at short intervals, having the current movement and remaining time visible on a screen means nobody loses a round asking what's next, and the coach isn't stuck calling out transitions over the group.
A sample week using the chart
The chart is a reference, not a program, but seeing three rows used together across a week makes the "pick a structure from a goal" section concrete rather than abstract.
- Monday: 30/30, 12 rounds, mixed bodyweight movements. General conditioning, moderate intensity, the kind of session you can do even when the rest of the week is uncertain.
- Wednesday: 40/10, 8 rounds, single movement (bike or rower). Short, hard, and done in under 10 minutes. Placed midweek so it doesn't wreck the sessions on either side.
- Saturday: 4x4 protocol, run or bike. The longest and most demanding session of the week, placed where a full day of rest follows it.
That's two shorter, higher-frequency sessions and one long aerobic-leaning one, which covers most of the chart's range without stacking the hardest rows back to back. Swap movements and specific structures freely, the pattern (short and frequent, short and hard, long and paced, spaced across the week) matters more than the exact rows chosen.
Tabata versus everything else on this chart
Tabata gets treated as a synonym for HIIT, but it's one row in this table, not the category. The original 20/10 structure is a specific, extremely demanding protocol built for near-maximal output every round. Most of the other structures here, 30/30, 40/20, 60/60, ask less per round and more across the session. If you want the fuller breakdown of how Tabata, general HIIT, and circuit training actually differ, see Tabata vs HIIT vs circuit training.
How this differs from EMOM and AMRAP
The chart above is specifically work-then-rest interval training, a fixed work window followed by a fixed rest window, repeated for a set number of rounds. EMOM (every minute on the minute) and AMRAP (as many rounds as possible) are related but structured differently: an EMOM fits the work into whatever's left of a fixed minute rather than pairing it with a separate rest window, and an AMRAP has no fixed rest at all, just a running clock and a target to beat.
All three overlap in what they're training, but they aren't interchangeable, and picking the wrong one for a goal is a common mix-up. If EMOM and AMRAP formats are also in the mix for your programming, the full comparison at AMRAP, EMOM, and Tabata covers how the three actually differ and when each one fits.
Signs you've picked the wrong structure for today
Output that drops sharply after round 2 or 3, when it didn't on the same structure last week, usually means the structure is right but something else (sleep, prior day's training, food) isn't. Cutting the round count that day rather than pushing through is the better call.
Form breaking down in a way that's specific to fatigue, not skill, is the clearer signal to change the structure itself rather than the day. If a 60-second work period consistently falls apart by second 40 across multiple sessions, that's the work period asking for a shorter row on the chart, not a mental toughness problem.
Feeling like you could have gone harder on every round, weeks in a row, means the structure has stopped being a stimulus. That's the point to move up a round, cut rest, or shift to a harder row, not to keep repeating a session that no longer asks anything new.
Running these on the free timer
Every structure in this chart is one setup away on the HIIT timer: work seconds, rest seconds, round count, go. The timer ships a synthesized bell at each transition, a warning cue before the switch, and countdown beeps in the final seconds. It doesn't have voice cues or sound packs. Those live in the FitVizPro app on iOS and the FitViz app on Android, not the browser timer.
For gym-floor use, open the preset on the room's TV browser and run it full-screen so the whole class can see the round and the clock without checking a phone. The workout timer hub has the full list of formats if Tabata or HIIT intervals aren't the only structure you're running that day.
Where to go next
This page covers the interval structures themselves. A few related pages go deeper on specific pieces:
- HIIT timer to run any structure in the chart directly.
- Tabata timer for the 20/10 protocol specifically, preset and ready.
- Tabata vs HIIT vs circuit training for how these formats differ as categories, not just as numbers.
- AMRAP, EMOM, and Tabata for the formats that structure work differently than fixed work-rest intervals.
- Heart rate zones for training at a controlled, sustained output on the longer rows in the chart.
- Workout display for running interval sessions in a group or class setting.
Set the numbers from the chart, pick a movement that fits the work window, and run it.